Create a simple round company seal from scratch
Templates are quick, but building from a blank plate teaches you how every seal is put together. In this walkthrough you’ll make a classic single-ring round seal: a company name curving along the top, a registration line along the bottom, and a short line of text in the middle.
What you’ll build
- Shape
- Circle
- Size
- 40 mm
- Layers
- Outer ring · top arc text · bottom arc text · centre text
- Ink
- Seal blue (or your brand colour)
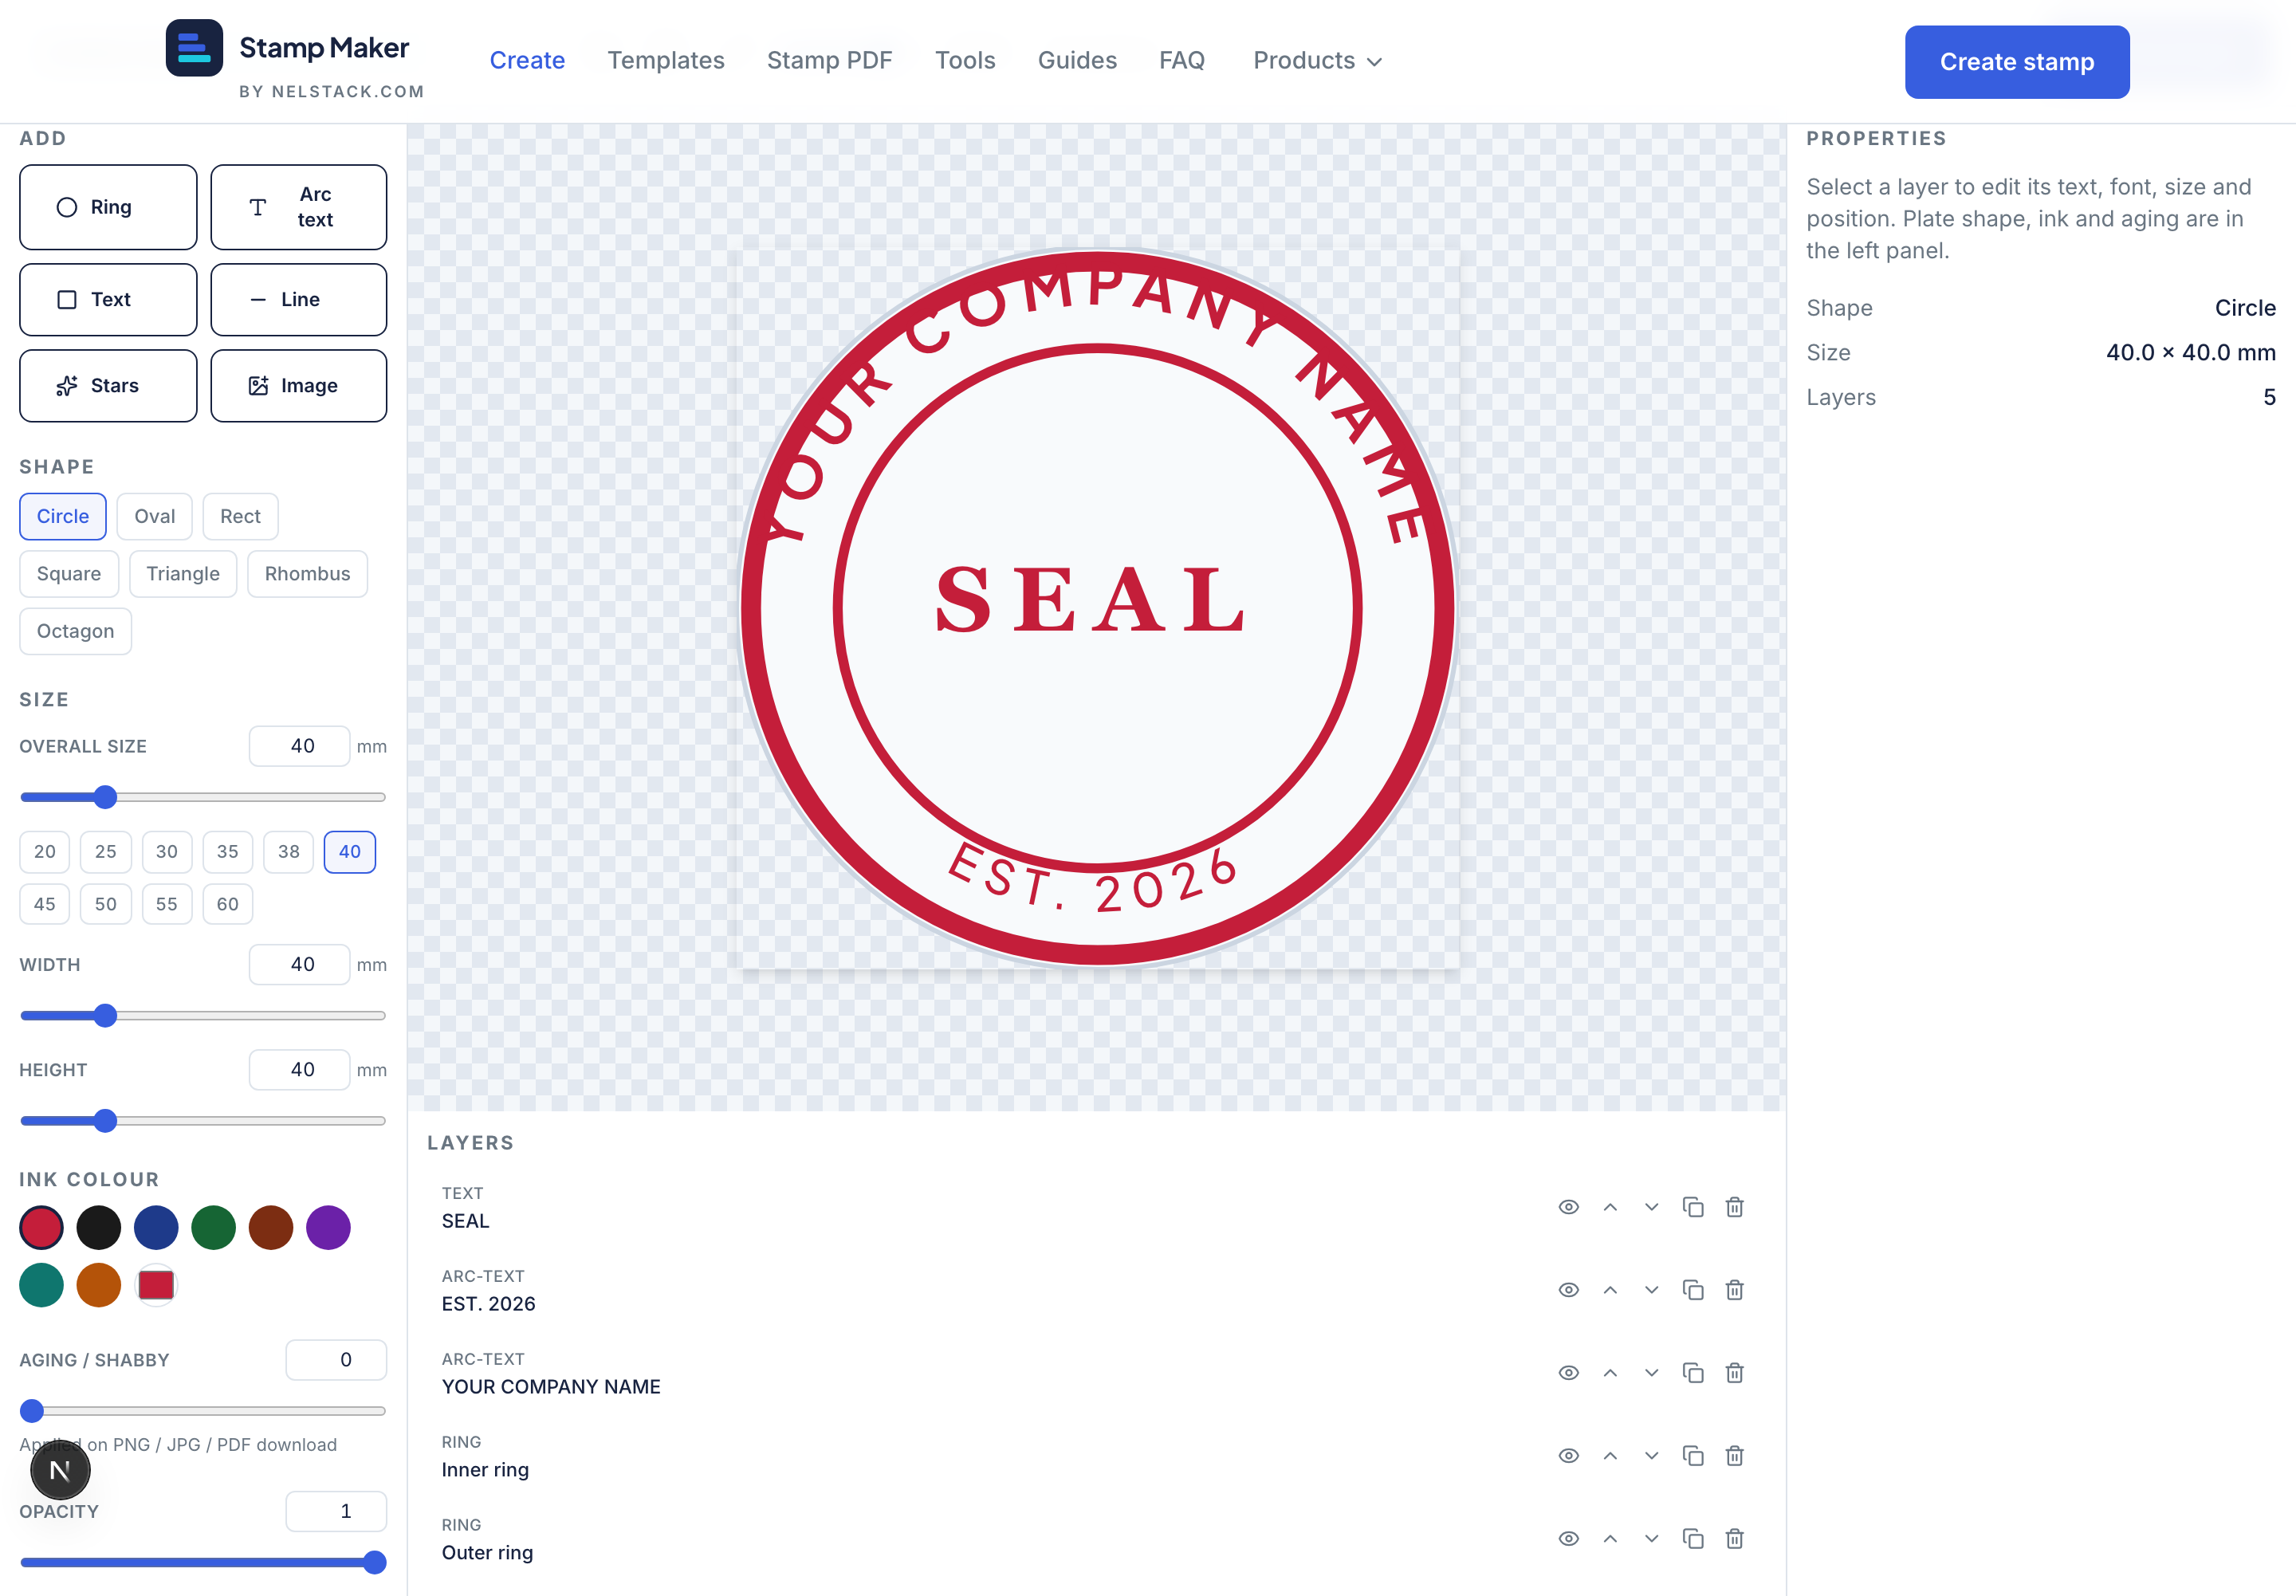
Step by step
- 1
Start a blank circle
Open the editor and choose the New (blank) plate, then set the shape to Circle. In the plate settings, set the size to 40 mm so the proportions match a real seal.
- 2
Add the outer ring
From the left toolbox add a Ring layer. This draws the outline just inside the plate edge. Set its thickness to around 1.2–1.6 mm so it reads clearly when printed small.
- 3
Add the top curved text
Add an Arc text layer and type your company name. In the inspector, keep it on the top arc, then adjust the radius so the text sits neatly between the ring and the centre. Increase letter spacing slightly so capitals don’t crowd.
- 4
Add the bottom curved text
Add a second Arc text layer for the registration or tagline — for example “REG. NO. 123456” or a city. Flip it to the bottom arc so the letters read left-to-right along the lower curve.
- 5
Add the centre text
Add a straight Text layer in the middle for a short word like the entity type (“PVT LTD”) or a monogram. Keep it to one or two lines so it stays legible.
- 6
Balance the spacing
Select each arc and nudge the start angle until the top and bottom text are symmetric. A common trick: give the bottom text the same letter spacing as the top so both curves feel like a pair.
- 7
Set ink and download
Choose your ink colour, then Download a transparent PNG at 2× or 3×. You now have a clean, single-ring company seal.
Keep it readable
Real seals are printed small. Prefer a bold, condensed font for arc text, avoid more than ~30 characters on a single curve, and leave a little breathing room between the ring and the text.
Two dividers make it look finished
Add a small star or dot ornament at the left and right where the top and bottom text meet. It visually separates the two curves — you’ll use this properly in the complex build.
Next: make it richer
Once the single-ring seal feels comfortable, add a second ring, star separators, a centre divider line and a logo. That’s the complex build.
Frequently asked questions
What size should a company seal be?
Most round company seals print well at 38–42 mm. Start at 40 mm and adjust for your paperwork.
How do I add text that curves around a seal?
Add an Arc text layer, type your wording, then tune radius, start angle and letter spacing in the inspector.
Keep learning
- Design a complex multi-ring seal with a logo and dual languageAdvanced stamp tutorial: dual rings, Hindi/English arc text, star separators, logo, aged ink, and SVG plus PNG export.
- Stamp Maker in 5 minutes: a guided tourLearn Stamp Maker in minutes: templates, stamp editor, Stamp PDF and image tools. Free, private and browser-based — no signup.
- Find a template and customise itBrowse 100+ free stamp templates across 15 categories. Open any seal, edit text and ink, then download PNG or SVG privately.